Installing and setting up TeamCity
1. Start by downloading TeamCity and start the installation. The proposed suggestions in the setup wizard are just fine:

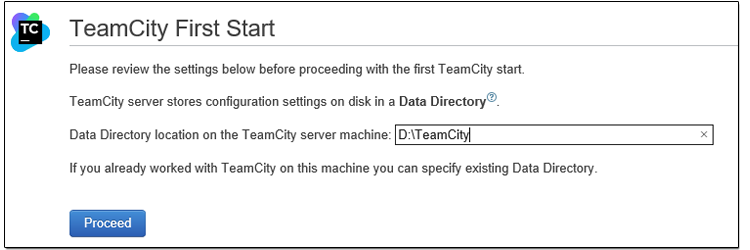
2. Choose your path for Data Directory. Data Directory is used for storing configuration settings. I prefer to use a different path than the one where the program files are installed. In my case I’m using folder on D disk: D:\TeamCity.
3. Select preferred database type. If you want to get up and running fast, You can select the built in database **HSQLDB. **The built in internal database is not recommended for production use. In my setup I’m using Microsoft SQL Server 2014. Initially I tried to use SQL Express, but faced some issues and I didn’t bother spending time on solving them as I already had the full version of MsSql installed. Though I came across a blog that handles that issue, if SQL Express is your only option.
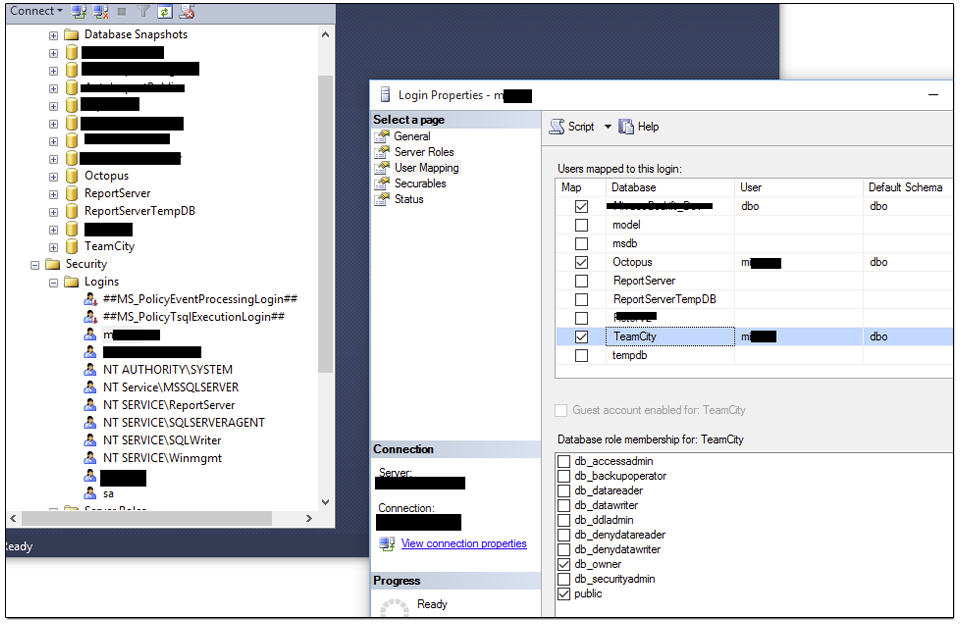
No create a database, call it TeamCity, and create a Sql login. Associate the newly crated login with TeamCity database. We will be using this login to talk with the database:
4. Now proceed with your TeamCity wizzard. At this moment TC is asking for a MS SQL Server JDBC Driver. Download the file from Microsoft and place it in D:\TeamCity\lib\jdbc directory, and click the refresh button.

5. If everything is ok, You have reached the final step which are to accept the license agreement and create a new user. Do that and You have finished the TeamCity installation. The next step is to install Octopus Deploy.
Comments