Installing and setting up Octopus Deploy
This is the 3. part of Building and deploying with TeamCity and Octopus Deploy. In the previous part we installed TeamCity. Now we are going to install Octopus Deploy. Octopus Deploy consist of two install files; one for server and one for tentacles
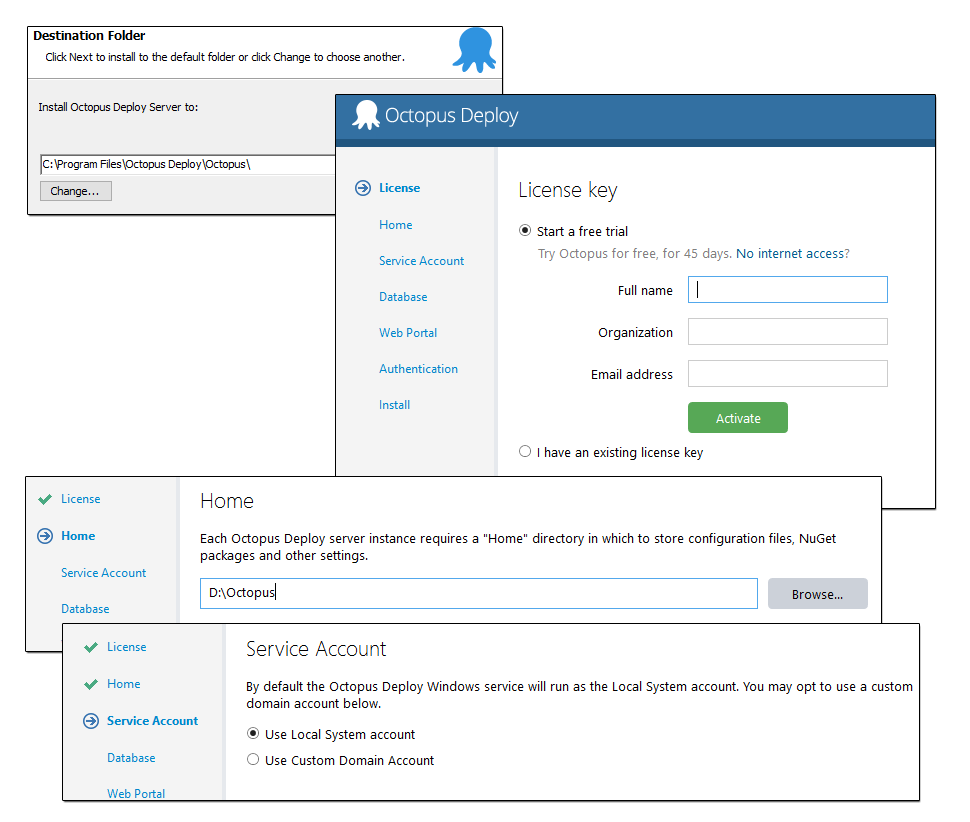
1. Start by creating a new Octopus database and associate the login we previously created with the Octopus database (in the same way we did with TeamCity). Download Octopus Server and run the file. The proposed settings are just fine. Check for “Start a free trial” when You approach the license step. As with TeamCity use a separate path for storing configuration files. I’m using drive D here as well. D:\Octopus.
 octopus setup
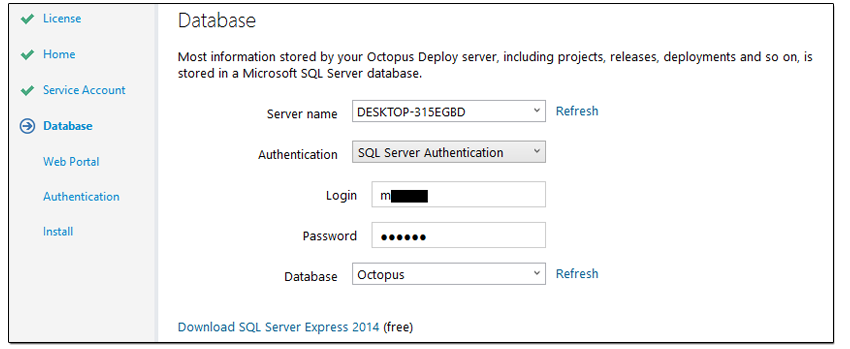
2. Choose the newly created database, and use the same login to access the database.
 octopus setup
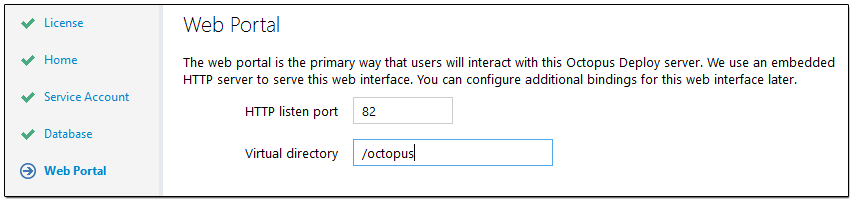
3. Define the port and a virtual directory. Here I’m using /octopus as virtual directory but it is not necessary
 octopus setup
4. Choose your preferred authentication mode. I’m using “Username/password stored in Octopus”. Create an admin user and finish the installation. Hopefully everything was OK. Octopus have now installed a desktop app: “Octopus Manger” where you can find some status information about your server. Now you can login to the server web app.
 octopus setup
Octopus Tentacle
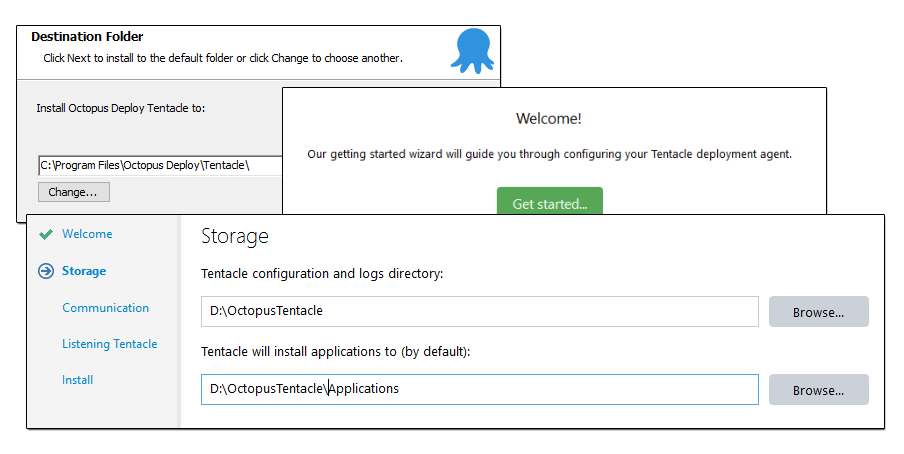
1. Start by downloading the setup file for the tentacle, and run the .msi. Here as well we will be using own directory for the tentacle configuration: “D:\OctopusTentacle”
 tentacle setup
**2. **Choose “Listening Tentacle” as communication style, and add the certificate key. The certificate key can be found in Octopus Server web application under Configuration -> Certificates
 tentacle setup
3. Finish your installation. The next step is to configure TeamCity and Octopus to build and deploy when checking in code
Comments